When it comes to enhancing the ambiance and functionality of your home, few additions hold the same allure as shutters. Rooted in centuries of British tradition, shutters seamlessly blend sophistication with practicality, making them a timeless choice for interior design enthusiasts. Among the plethora of options available, British Made Shutters emerge as a beacon of quality, craftsmanship, and style, offering a transformative solution for any living space.
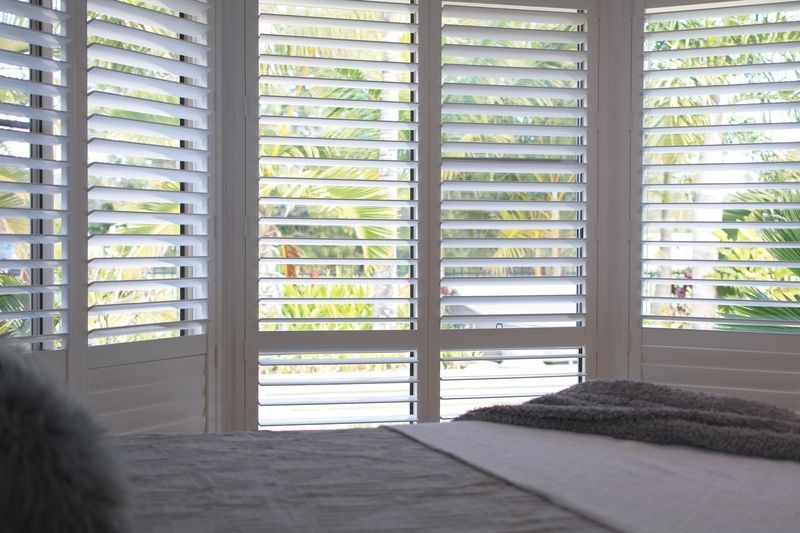
Plantation window shutters have gained significant popularity among homeowners as a versatile and aesthetically pleasing window treatment option. Their timeless appeal, practical functionality, and ability to enhance the overall ambience of space have made them a sought-after choice for interior design enthusiasts. However, amidst their rising fame, a common misconception exists regarding plantation shutters and their blackout capabilities. In this blog post, we delve into the intriguing world of plantation shutters and explore the truth behind their light control properties. Join us as we uncover the reality behind these elegant window coverings and discover the practical implications of their light control features.
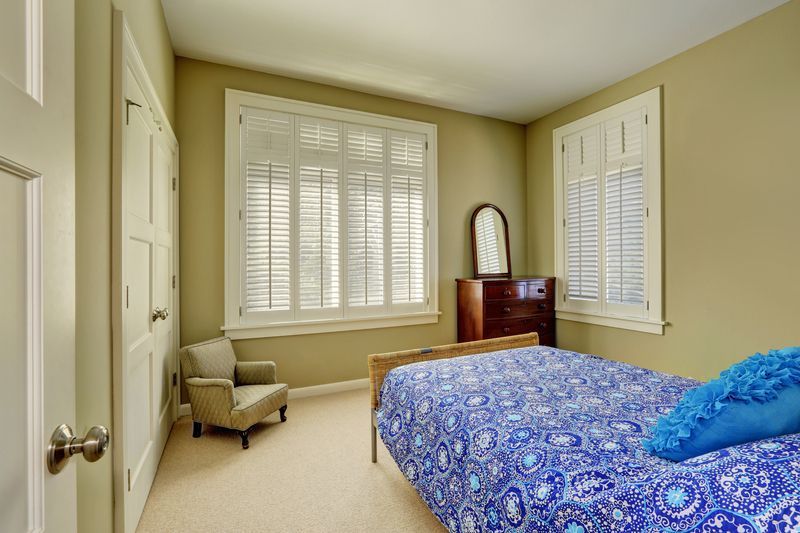
Shutters, a fundamental element of architectural design and interior decor, have long been revered for their dual functionality and aesthetic appeal. These versatile window coverings offer homeowners an elegant means of controlling light, ventilation, and privacy while adding a touch of sophistication to any living space. Shutter blinds come in many different styles and shapes, from café style to full height and plantation wooden shutters. In this article, we will take a look at plantation shutters and how they can enhance the aesthetic appeal and functionality of any space.
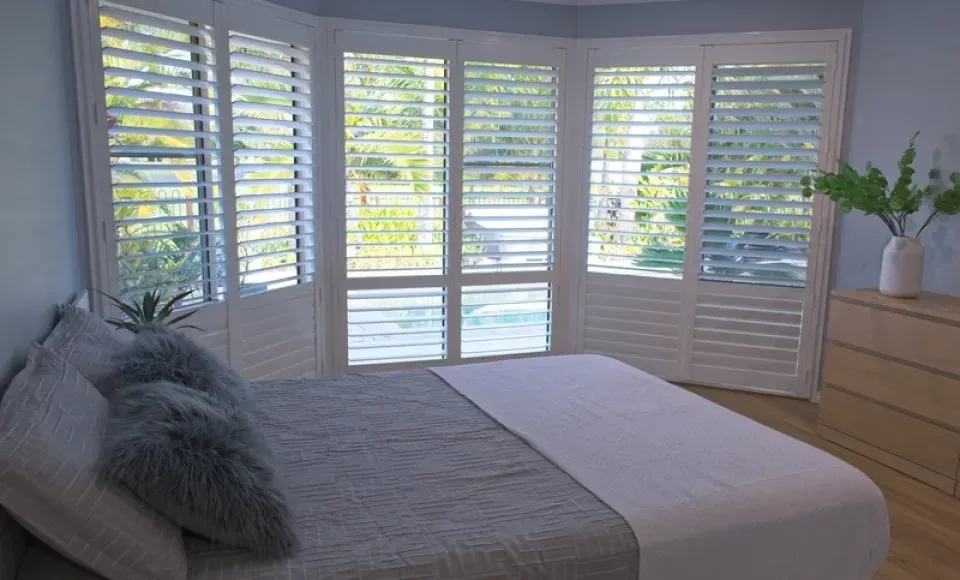
Bay windows are a beautiful architectural feature that can add charm and character to any home. They provide an abundance of natural light, panoramic views, and an opportunity to create a stunning focal point in any living room and have become popular due to their versatility, functionality, and timeless appeal. But how much do they cost? Keep reading, and we will talk you through your options, costs and what to consider when choosing shutters for your bay window.
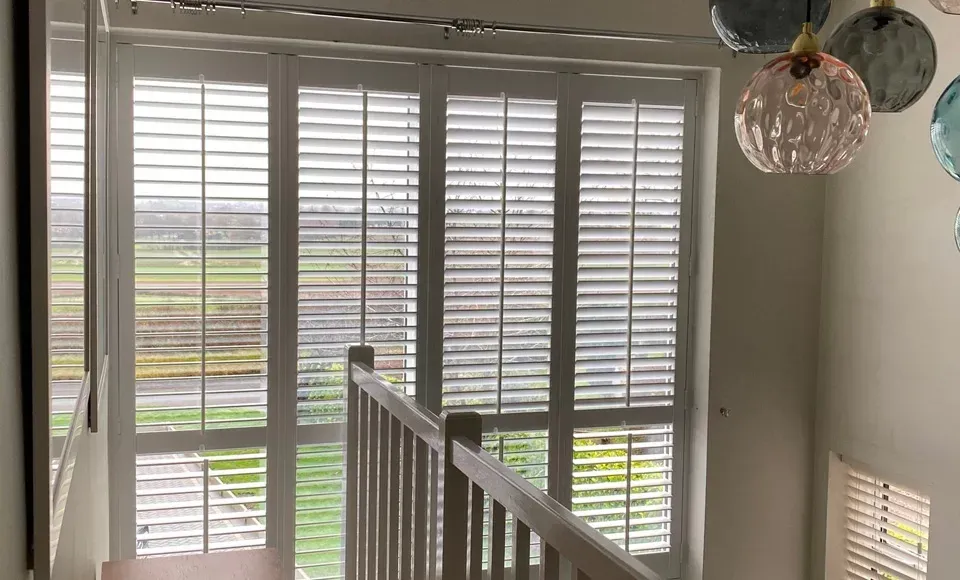
Are you looking to add a touch of elegance and functionality to your windows in the UK? Window shutters are a popular choice! They not only enhance the aesthetics of your home but also offer privacy and light control. But how much do they cost? In this article, we're going to look into the vast world of shutters, what kinds there are and what different factors affect the costs.